Many kinds of furniture use drawers – and they all need drawer pulls (or knobs). The exception would be the drawers that are built for finger-pull. But because you’re here reading about how to install drawer pulls, then it’s safe to assume you’re not building a finger-pull drawer.
Or maybe you’re replacing drawer pulls or knobs in your kitchen, or on a piece of furniture. But doing that is really straightforward. So I would venture a guess that what you’re doing is installing hardware on new furniture, or on new drawer faces.
But it doesn’t really matter, I’m going to show you how to install your drawer pulls no matter what you’re putting them on.
First of all, what are you installing?
Single hole knobs? Double hole pulls? 2 single hole knobs, like on wide dresser drawers?

If you’re doing single hole knobs, just be aware that these tend to loosen over time. And if the knob itself is not round, any rotation will be easily noticed. However, I use these all the time. And if they ever become pivoted and look imperfect, you just make a quick adjustment and crank down on the back side screw with a screwdriver.
2-hole drawer pulls don’t have this problem, but they are a bit harder to install. This is due to them having zero forgiveness in your ability to pre-drill 2 perfectly located bolt holes through the drawer face. By that I mean if you get the holes in the wrong spot, you won’t be able to install the drawer pull. Then you have to expand the hole size, risking some of the hole being visible after the pull is installed.
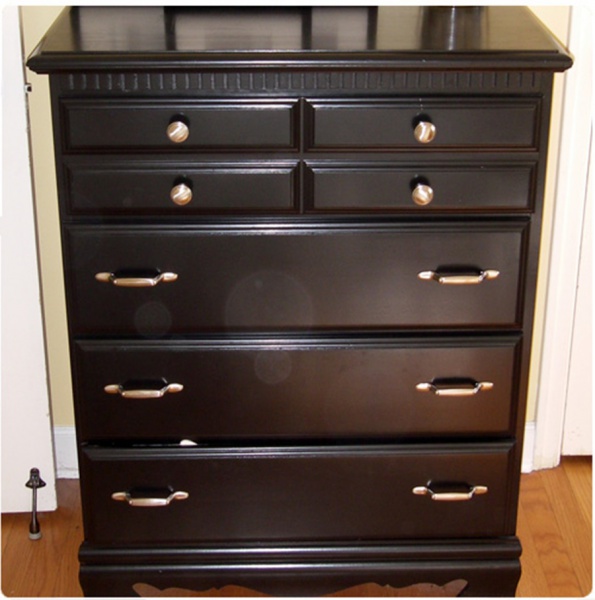
And then there are the double knobs. This is typical on some wider-drawer dressers. The only downside here is you have to line up 2 pulls, and locating the spots for the pre-drilled holes is just a tad bit more complicated than with single-hole drawer pulls.
But in all three cases, these are small issues and really are just a way to compare the installation steps needed for each.
Related
- How to build a drawer
How to Install Drawer Pulls – Single Hole Knobs
This process is super easy. You’ll need a straight edge (like a yardstick), a drill, a drill bit just a bit bigger than the bolt that came with the knob, a screwdriver, and possibly another bit that is slightly larger than the head of the bolt.
Take your drawer face and lay it out on your workbench. If it’s already installed on the drawer, that’s ok too, just follow along.
Take your yardstick and lay it out from corner to opposite corner. The center point will be the half-way measurement from one corner to the other. Make a small mark at that point.
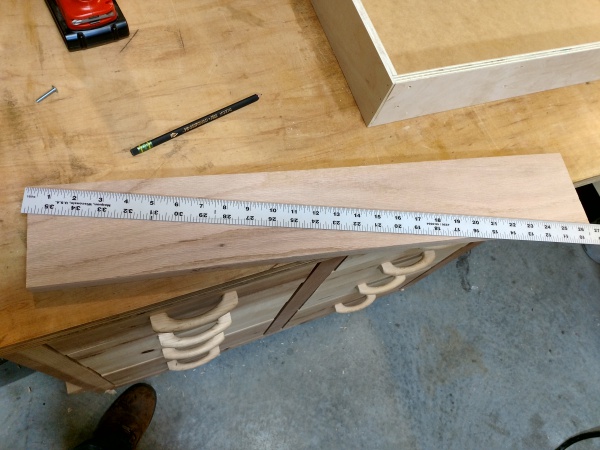
Now rotate the yardstick so it’s running from the opposite 2 corners. Draw a small line that intersects your first line. This is the exact center point.
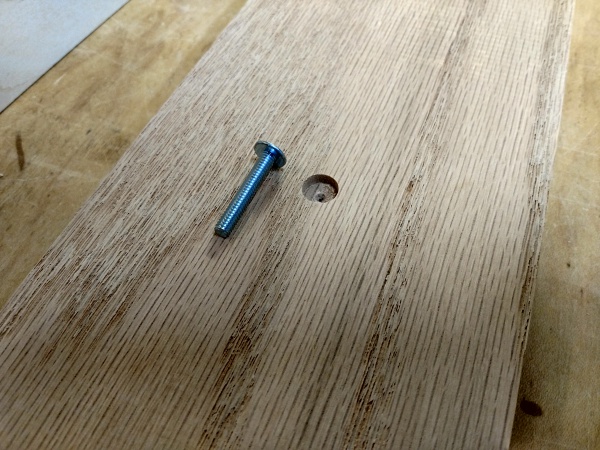
Right there at the center point, using a drill bit sized just a bit larger than the diameter of the drawer-knob-bolt, make a hole.
From the back side, push the bolt through the hole and the bolt should have 1/8″ or more sticking out. If it does not, you’ll need to take the larger bit and drill from the back of the drawer face. Drill into the same hole.
What you’re doing is making a counterbore so you can push the bolt in further.
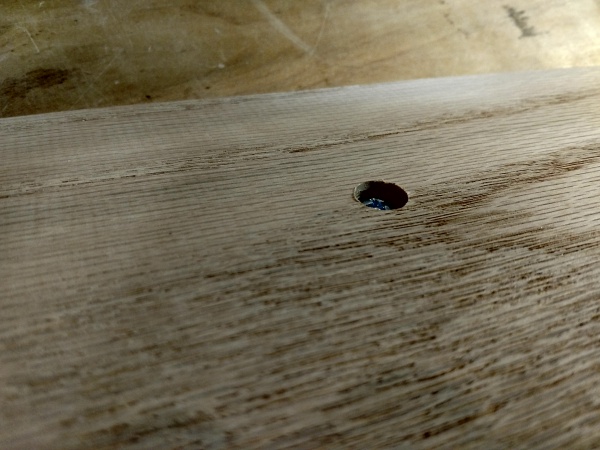
Do not let this hole go all the way thru. In fact, put some painters tape around the drill bit 1/8″ to 1/2″ from the tip. This distance depends on how deep you need to drill the hole in order to get the bolt to poke all the way thru. Then you drill slowly until the tape comes in contact with the wood surface.
Once this is done, push the bolt thru again and you should have some exposed threads now. Go ahead and thread on your drawer knob. Once it’s snug, take your screwdriver to the bolt head at the back and tighten her up.
How To Install Drawer Pulls – The 2 Hole Kind
For this, you can buy jigs that help line up your pre-drilled holes just right depending on the pull you’re using.
I don’t use these though. This type of drawer pull is really easy to install without a jig, just by making the right measurements and marks. All I use to install 2 hole drawer pulls is a ruler, pencil, painters tape, drill, and bits.
First I find the horizontal center. So if the drawer is exactly 5 inches tall, I determine the horizontal center is at 2.5 inches from either the top or bottom edge.
Then put a piece of painters tape along this center line, also centered vertically on the drawer face, and wider than the drawer pull itself.
Now right on the painter’s tape, make a mark 2.5 inches from the top of the drawer face at each end of the tape. Using a ruler as a straight edge, make a line from one mark to the other. This is your horizontal center line, and this is where the holes will go.
Now find the center point of the drawer face using the method above, and make a mark on it.
Take your 2-hole drawer pull, and measure the distance from hole to hole. Write the measurement down as “Measurement A”.
Divide the measurement in 2 and write that down as “Measurement B”.
If you need help converting fractions to decimals, check this out.
Measure from the center point along the horizontal line, and make a mark at the distance of Measurement B
Do the same thing in both directions from the center point. These marks are for your holes. Drill your holes.
And now you’re ready to install the pulls. If the bolts don’t go all the way through the drawer face, just refer to the section above on how to install drawer pulls – single hole knobs.
Knobs and Pulls For Wide Drawers
The Double Drawer Knobs
This is when you use a drawer knob in 2 locations on a drawer, like on a dresser.
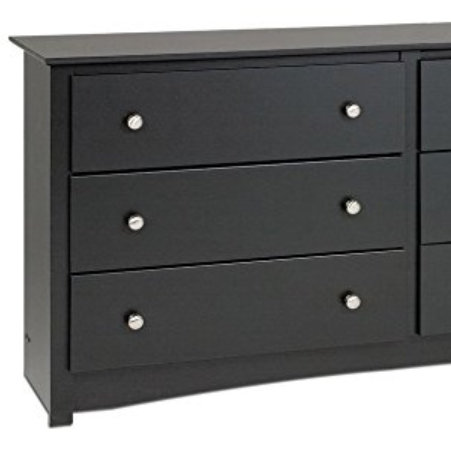
Find the horizontal center using the method above, and run a piece of painter’s tape along the entire drawer face.
Now determine roughly where you want the knobs, and measure from one end to this location on one side – make a mark through the horizontal center line. Measure the distance from the edge to this line, and write this down as “Measurement A”.
Measure from the opposite side, the distance of measure A and make a mark on the center line. These are your center points for each drawer knob, and this is where you’ll drill the holes.
Follow the steps above to finish mounting the pulls.
The Double Drawer Pulls
For these, you’ll just want to combine 2 processes. First, do the steps a layed out just above for double drawer knobs. Once those final marks are made, jump up to the section; how to install drawer pulls – the 2-hole kind.
Source: www.crsfestival.com
That’s really all there is to it.