The Ultimate Guide to Painting Your Walls
Our top tips from floor to ceiling!
(function(d){
var f = d.getElementsByTagName(‘SCRIPT’)[0], p = d.createElement(‘SCRIPT’);
p.type = ‘text/javascript’;
p.async = true;
p.src = ‘//assets.pinterest.com/js/pinit.js’;
p.setAttribute(‘data-pin-hover’, true);
f.parentNode.insertBefore(p, f);
}(document));
function openWin() {
myWindow = window.open(“http://www.youtube.com/channel/UCHGLUxlObWaCOcDTYiuZFPA?sub_confirmation=1”, “0, 0”, “width=575, height=325”); // Opens a new window
AnalyticsTrackEvent(‘Social’, ‘Subscribe’, ‘YouTube’);
}
A fresh coat of paint is one of the biggest bangs-for-your-buck when it comes to updating your home. Whether an accent wall, or the entire room, changing up the color instantly changes the space. It is a relatively low-cost, low-effort project that even an absolute DIY beginner can take on in a weekend. The sky is the limit when it comes to the combination of colors, textures, or patterns you can put on your walls, but in this article, we’re going to cover the basics. We’ll show you how to prep your space, the right tools for the job, and some handy tips learned over many years and many coats of paint.
Tools for Painting
When picking up supplies for painting your home, you truly get what you pay for. If you are investing the time and effort for this project, you want to ensure you’re also investing in quality tools and the paint itself. If you buy cheaper products, you’ll just be making more work for yourself. Lower quality paint may need multiple coats, cheap roller covers can leave lint behind, and inferior tape can cause paint bleeding or leave behind residue. All these can make for a frustrating experience and can cost more money in the long run. Here are the basic supplies you’ll need to paint your walls:
- Paint
- Angled brush
- 3/8” Roller covers and frame
- Paint tray and liners
- Painters’ or masking tape and paper
- Suggested: paint pail with liners
- Suggested: drop cloths, and rags
- Optional: spackle kit
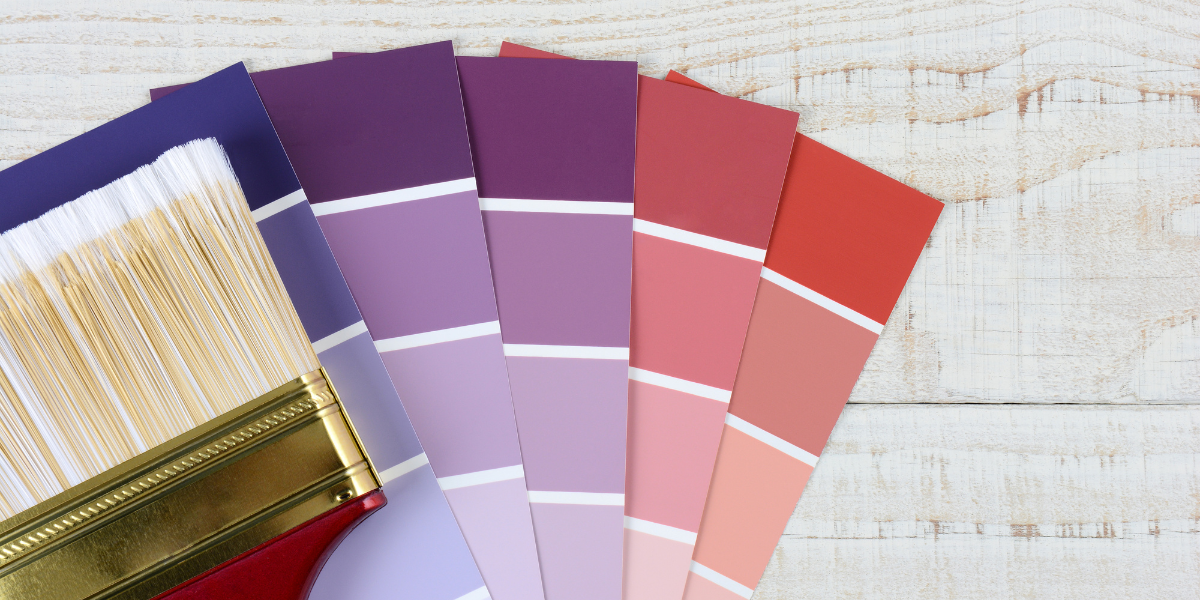
Choosing a Paint
When selecting a paint for the walls, the color isn’t the only choice you need to make. The finish or sheen of the paint also makes a big difference. The sheens include flat, eggshell, satin, semi-gloss, to gloss. The location you’re painting, the amount of traffic it receives, and how often you need to clean the surface should all be considered when choosing a sheen. If you have small children or a high traffic area, something like a semi-gloss or gloss finish will be easiest to clean. This is also a popular choice for trim and baseboards. If durability is less of a concern, flat or eggshell finishes look great, but they are more difficult to clean and scuff easily.
When purchasing paint, once again, you want to go for quality. You can get primer and paint combos, which will be more expensive upfront, but they will save you hours of work. If cost is a concern (or you just really like painting, no judgement!) purchasing a primer and paint separately can save you some funds. However, you’ll likely need to do a couple coats of primer followed by coats of paint. The real question is, do you want to spend more money, or spend more time on this project?
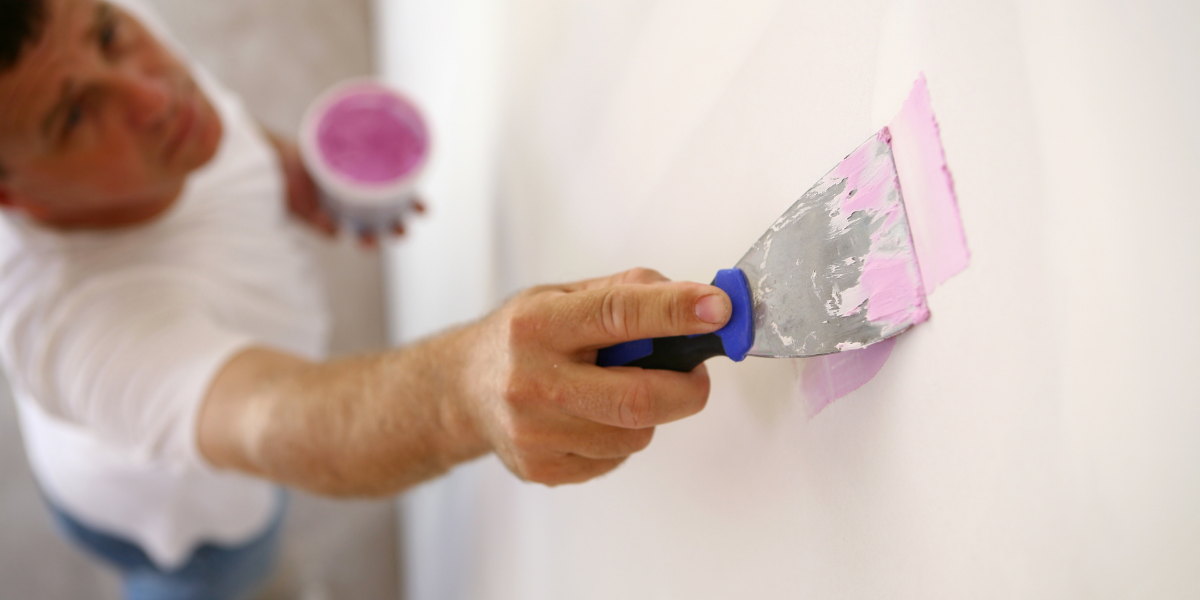
Prepping Your Walls for Paint
To make things easier for yourself, and to ensure the best surface possible for the paint, there is a bit of prep work you’ll need to start with. If the wall you’re painting has outlets or light switches, you’ll want to remove the covers. These are typically held in place by a couple of screws – keep everything together in a container or baggie until you’re ready to reinstall them. If the wall has damage from things like nail holes, you may want to patch these up using a spackling kit. Once any patches are dry and lightly sanded, you can clean the walls using a dish soap and water solution. Be sure to rinse the walls with fresh water to remove any soap residue.
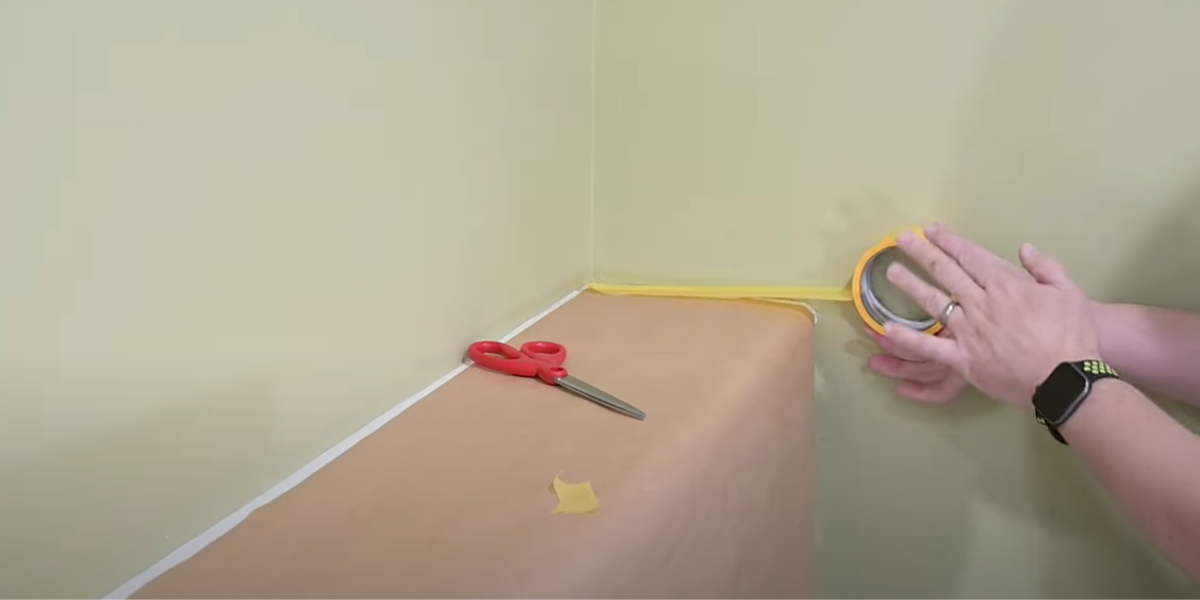
Taping and Protecting Surfaces
Taping or masking a surface helps to protect it from unwanted paint. You might choose to mask the ceiling edge, baseboards, or adjacent walls. Taping all these surfaces is a very time-consuming task, and it isn’t always necessary. Using the right brush technique to cut-in can eliminate the need to mask the entire room. However, if you aren’t confident in your brush stroke, or want to be extra careful, the following tips should help ensure taping success.
As we mentioned above, you get what you pay for when it comes to your supplies and tools. Be sure to purchase a quality tape intended for painting projects. Other tapes will have too strong of an adhesive, which can be difficult to remove and leave residue behind. Tapes intended for painting will provide you with clean edges once removed, as they’re designed to prevent bleed-throughs. You can also purchase masking paper, for covering surfaces like a ledge or shelf, but if your wall doesn’t have any additional features you may not need this product.
When applying the masking tape, ensure you make a square cut across the tape and get the edge right into the corner of the wall. If you hold the tape roll tight against the wall, it will help ensure that you’re taping off nice and straight. When it comes time to remove the tape, you’ll want to do this when the paint is dry to the touch, typically about an hour. Waiting too long may result in the paint peeling away with the tape.
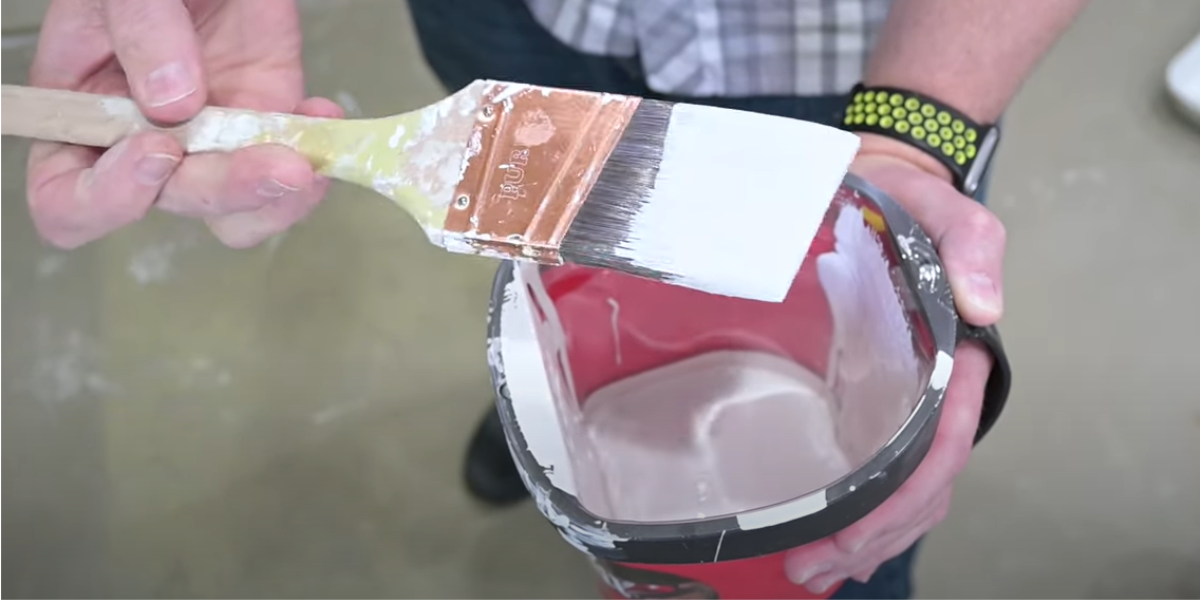
Cutting in with a Brush
When you’re ready to start painting, the next step will be cutting-in our corners and edges. We’re going to begin by dispensing well-mixed paint from the bucket into a plastic pail with a liner. This pail is lighter and easier to hold, while the liner allows for easy clean up. We are using a two-inch angled brush, as this size and angle allows for good coverage while cleanly getting into edges and corners.
A mistake many make when loading their brush with paint is to scrape the excess off. This method removes too much paint from the brush and will end up looking streaky when applied to the wall. A better method is to dip your brush into the pail, then tap the brush against the sides. This removes the excess paint so that it doesn’t drip, but ensures you have ample paint left to apply to the walls.
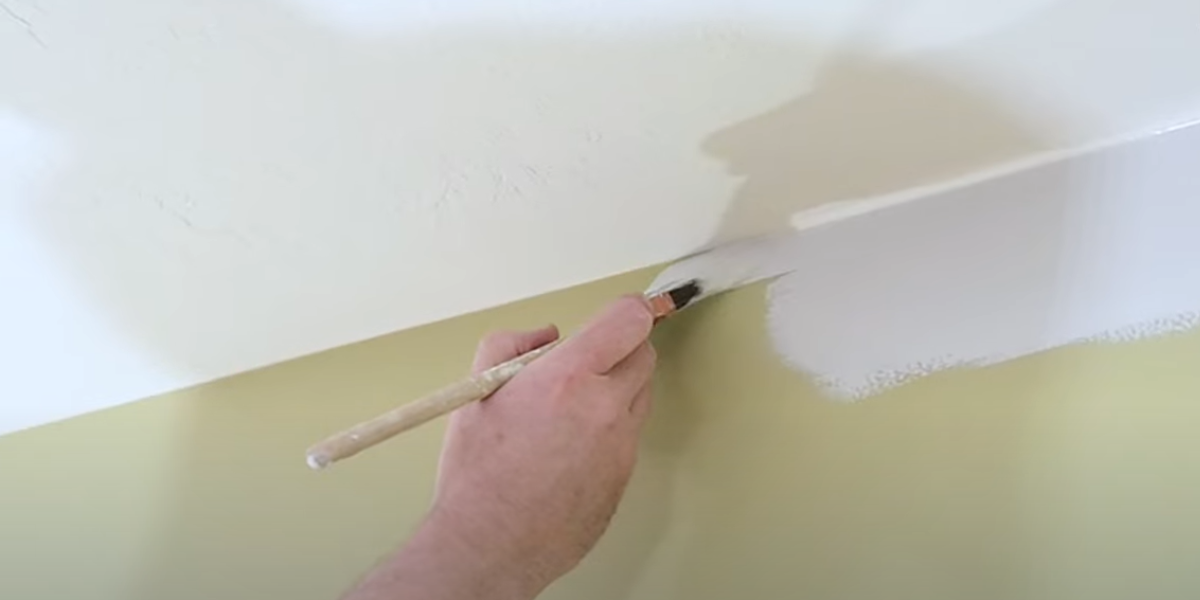
The cutting-in technique can save you so much time, as you won’t need to tape off your entire room. You may want to keep a damp cloth on hand to wipe up any potential smudges, but this technique is easy to master with a bit of practice. Take your paint-loaded brush and place the “long” side of the angle into the corner. Keep the edge of the brush along the edge of the ceiling or wall you’re cutting into. Slowly wiggle the brush outward, working about a foot of length at a time. When the brush starts running out of paint, you can go back to blend and smooth out the paint you’ve just applied. You should be coming down about two inches, as that’s the section your roller won’t be able to get into later.
When painting with a brush, it’s important to ensure that you’re not leaving any lines or blobs of paint behind. By painting back in towards the fresh paint, it helps to feather out and smooth any lines. When working on lower surfaces like baseboards or around shelves, you want to prevent the paint from pooling at the bottom. You can do this by applying the paint just above the edge, and then feathering it down into the baseboard. When painting around outlets or switches, you’ll also want to paint about two inches around, and feather the paint out.
Painting with a Roller
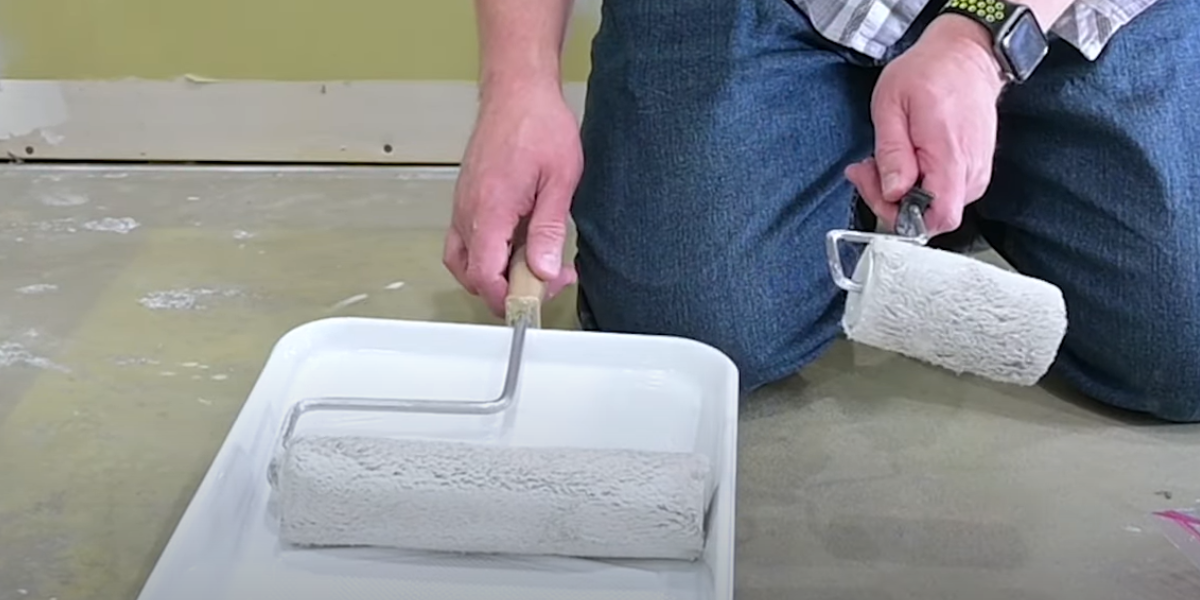
Once you have cut-in all the edges and corners, the last step is filling in the remaining wall with your roller. Install a fresh roller cover onto the roller frame and pour some paint into your tray with a liner. A tray liner will help with easy clean-up. Roller covers come in different thicknesses, or naps, but a 3/8” is most often used for interior walls. A standard roller is nine inches wide, but larger ones are available for projects like ceilings, or smaller rollers for more precise work.
When applying paint to the roller, you will want to ensure even coverage. Rolling the cover in and out of the paint a few times should do the trick. The upper part of the tray is intended to remove the excess paint from the roller. When applying the paint to the wall, work from top to bottom, typically in three-foot sections. Applying the paint in a “W” pattern is a common technique to ensure smooth and even coverage with the roller. You can then blend out, having your roller meet the cut-in edges you painted earlier. It’s important to ensure that your roller doesn’t touch the ceiling or other surfaces you don’t want painted! If you find that your roller is sliding instead of rolling, it’s typically a sign that you’ve overloaded it with paint. Roll some off in the tray and you should have better results. If you notice streaks or lines in your paint, you can use the feathering technique to blend them in.
Now you can sit back and enjoy your freshly painted space! If you didn’t manage to tackle it all in one go, did you know you can store your roller covers in the fridge?! Just pop them inside a zip-top plastic bag, seal it up, and they’ll be good for weeks this way! For help with more DIY projects around the home, make sure you follow us on Instagram and TikTok, where we share exclusive content!
(function(d){
var f = d.getElementsByTagName(‘SCRIPT’)[0], p = d.createElement(‘SCRIPT’);
p.type = ‘text/javascript’;
p.async = true;
p.src = ‘//assets.pinterest.com/js/pinit.js’;
p.setAttribute(‘data-pin-hover’, true);
f.parentNode.insertBefore(p, f);
}(document));
function openWin() {
myWindow = window.open(“http://www.youtube.com/channel/UCHGLUxlObWaCOcDTYiuZFPA?sub_confirmation=1”, “0, 0”, “width=575, height=325”); // Opens a new window
AnalyticsTrackEvent(‘Social’, ‘Subscribe’, ‘YouTube’);
}