Accuracy is a big hurdle for many aspiring woodworkers. All too often, your cuts and your joints end up out of square, unlevel, not flat, gapped, and so on…
So what do you do about it?
Well, for starters, don’t let it get you down! It’s not your fault. We all lack the ability to a certain extent to produce all of our cuts with precision.
You just need to learn a few techniques that drastically reduce your chances of being left with a gap you can see through, or a table that can’t hold a marble in place.

Accuracy Technique #1
Use accurate measuring tools.
Maybe it’s hard to tell when you first buy your new tape measure or ruler, if it’s perfectly accurate.
But what you can do is make sure all your measuring tools at least match one another.
So first take out every measuring tool you use and place it on your bench.
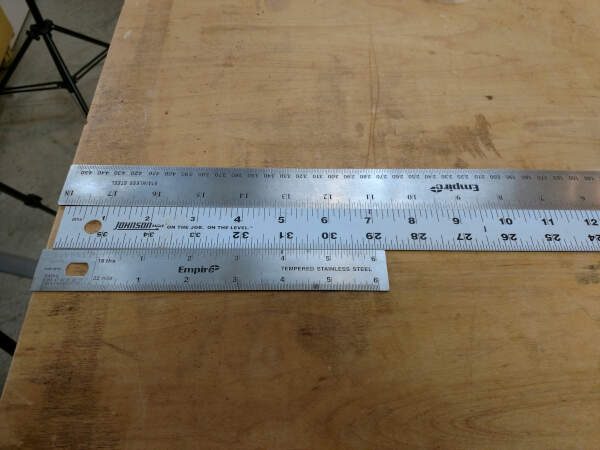
Hold each one against the others, and line them up at the zero point.
Now check to see if they are still in line with each other at 6″. And again at 12″.
If they are not, compare each one to the others and identify which ruler is wrong.
If you’ve identified one that is not accurate, the next part is very important…
Throw that one away! Do not allow an inaccurate ruler or tape measure to exist in your wood shop. It’s the devil!
Accuracy Technique #2
Mark thinner lines.
You may be used to grabbing a pencil when you need to make a mark. It’s ok, we all do it. It seems natural. You need a mark, you use a pencil.
Well, the problem is that a pencil line can be upwards of 1/32″ thick. This is not a precision line. This can cause a problem.
A singular mis-cut of 1/32″ is not so bad. But if the error is repeated multiple times on boards that are joining together, the error compounds on itself.
This means you may end up with a 1/8″ gap later on in the project.
So how do you fix this?
Get a marking knife. The line that you scribe with a marking knife can actually indicate part of the cut. There’s no second guessing. This line is the actual edge of the cut your going to make.
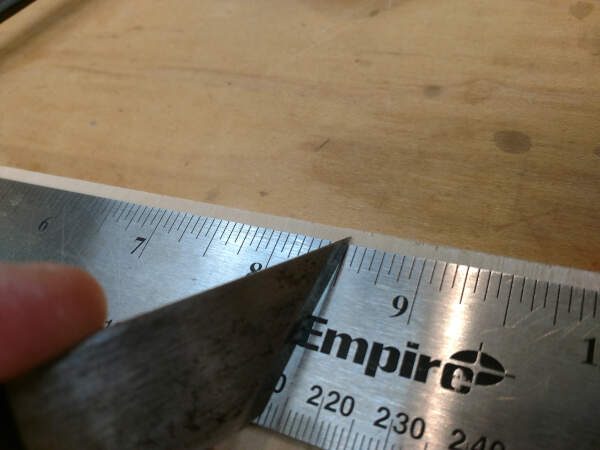
Also, if you get yourself a steel ruler with indented graduations, you can actually place your marking knife in the graduation of the measurement you’re marking, for real precision.
Marking a line like this allows you to take advantage of the next trick:
Accuracy Technique #3
Line up your blade properly.
If you’ve made a mark with a knife, and not a pencil, then you have the edge of the cut precisely marked.
Now you need to line the edge of the blade up with that mark.
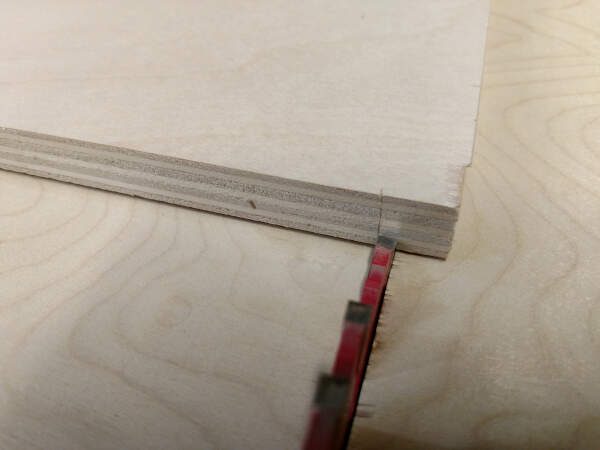
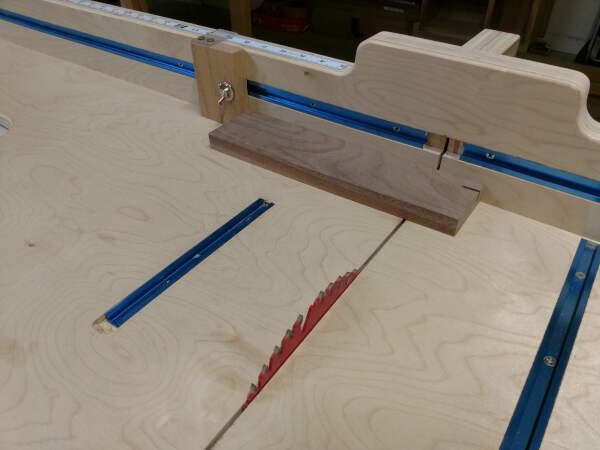
Most table saw blades have what’s called ATB teeth. This means they alternate. One tooth leans to the left, and the next leans to the right.
When lining up for the cut, if the marked line is to be on the left side of the blade, then line it up with the left edge of a left-leaning tooth. And vice versa.
Accuracy Technique #4
Use stop blocks.
Never, no matter what, never ever cut different boards that are supposed to be the same lengths, by marking and lining up the cuts individually.
If any 2 (or more) boards are to be the same length, then you should only be marking the first one.
Once you have it in place for the cut, set up a stop-block at the end of the board.
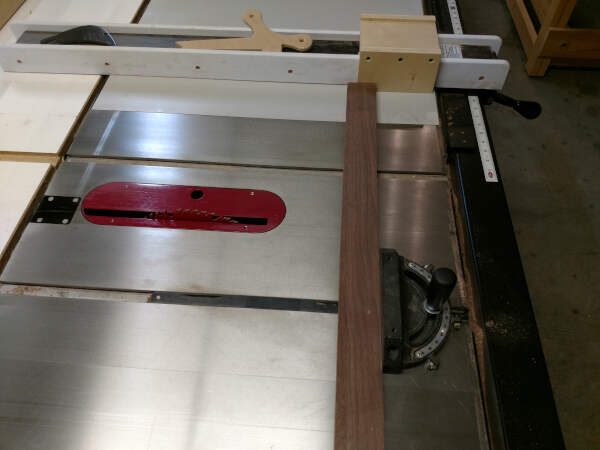
This way you can just move the next pieces into place and touch them to the stop block, then they’re lined up perfectly for an identical cut.
Note: A stop block used with your table saw fence should be lined up before the blade, not next to it.
Stop blocks can be clamped to your fence, clamped to your work bench, or they can even be built into your table saw sled.
Accuracy Technique #5
Use the “Cut Matching” technique
I dubbed this technique “Cut Matching”, and I use it all the time. When I figured this out, my accuracy made a big improvement.
The idea is simple, but it requires you to lay out your entire project before you begin cutting. That means making a simple cut list or cutting diagram for your project.
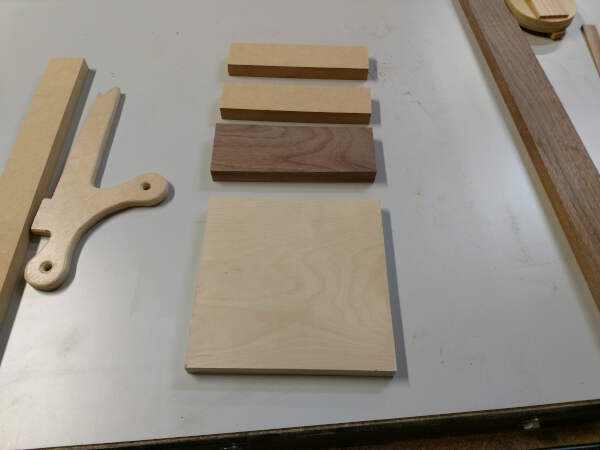
Basically, you want to cut and create all the pieces for a project first, before doing any joinery.
Think of it like if you were making furniture that you were going to ship to someone in a box, with “Assembly Required”.
All the pieces are cut and tagged, before you even begin the joinery process.
Sometimes this may not be 100% possible, but do it the best you can.
The “Cut Matching” part is simple. Any matching-length cuts that are to be made any time throughout the project, should all be made at the same time.
I don’t mean stack the boards up and make multiple cuts in one pass.
What I mean is once you get your saw set up to make a cut, with the fence, the sled, the stop-block, or whatever… Once that is set up, make all the cuts you’re supposed to make at that length, one after the other using the same set up.
Then move on to your next set up and cut those boards.
Sometimes that means leaving a board an inch too long on one side, just so you can come back and make the final cut for that length when it’s time to match it with the other boards that are to be that length.
What’s Next?
I’ve got a lot more tips and beginner woodworking advice to share.
>> Sign up below and I’ll send you some great emails to help you grow your woodworking skills.