There are tons of opinions out there on how to sharpen a blade. I’ve got my methods, and so that is the best I can offer you here today.
I’ve learned, through trial and error, a simple and systematic process for sharpening my blades, and if you haven’t got your process down yet, then this article should really help.

You may think your chisels are sharp. You may feel like they don’t need any improvement.
But until you’ve experienced razer-sharp, mirrors-edged chisels….
Let’s just say you’re about to have a new appreciation for what Sharp really means.
I’ve got a chisel I don’t sharpen that often. I use it for things like removing glue from my work bench, or squeeze-out from a glue-up.
It’s more of a shop-utility type of chisel, and it’s ‘sharp enough’.
But that’s not what you want for your joinery chisels, which is what you would use for cleaning up mortises, dovetails, box joints, and others.
No, for these processes, you want scary sharp blades, for a clean and perfect finish.
Most woodworkers I follow have a more time-consuming, more costly process for blade sharpening.
In my opinion, they over-do it. I just haven’t had a need for a blade so sharp it can split a hair.
These super-crazy-sharp edges don’t last long anyway. To maintain that level of sharpness you would need to touch up the edge and re-strop after every use.
So what I do is quick, requires less set up and equipment, and still makes for an incredibly sharp edge that will get the job done.
Stuff You Need For Sharpening Your Blades
Some guys will tell you to get 4 or 5 diamond plates, several water stones, and a $150 blade guide.
I don’t find all that necessary. I like having 3 different levels of sharpening, then stropping to finish up.
(I’ll even show you how I sharpen chisels without a blade guide at all)
Here’s what I recommend using:
Diamond Plates
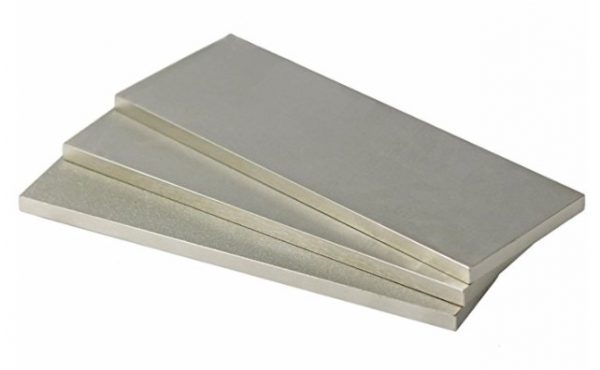
These will stay flat and work really great for chisels (and plane blades).
I’ve got this set of 3, which you can see here. These are 300, 600, and 1200 grit.
This set comes with a nice rubber-footed stone holder.
So far I’m really happy with these diamond plates and would definitely recommend them.
Compared to water stones (which I’ll explain next), diamond plates will stay flat, and last much longer.
It’s a bit more of an investment than a water stone, but I’ve used both and I find the diamond plates are easier and faster to use, and much less messy.
Water Stone
I can’t find on Amazon the one I have (which I bought years ago), but if I were to get another, I’d go with this one, click here to see it.
This is an alternative to a set of diamond plates. In my process below I don’t even use water stones.
But if you want to save money, get a 2-sided (course/fine) water stone with a holder, and you’ll need a flattening stone to go with it.
I would normally recommend getting a single diamond plate to flatten your water stone, and it could double as a touch-up sharpener.
But the stone I linked to above actually comes with a flattener, so that should be all you need.
If you do go with a water stone (aka wetstone, aka whetstone), you’ll use the flattener before each use.
Leather Strop and Stropping Compound
This is for a blade finishing technique that leaves your edge with a mirror finish and razer sharp.
Here’s a link to the one I use.
I’m very happy with this purchase, it seems to be great quality and so far has worked very well.
Squirt bottle
You’ll continuously be using water as a lubricant on your stones.
Paper Towels
The process is wet, and a little messy, so have paper towels ready.
For this reason I also use a scrap piece of 1/2″ plywood to work on, and keep the water off my work bench.
Plus that way I can screw the stone holders and the stropping board down so they don’t move.
The Sharpening Process
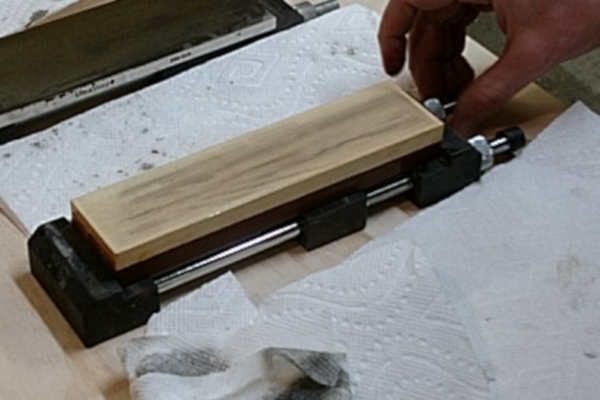
Set up your work area
Like I said, this process can get messy, so I use 1/2″ plywood to work on.
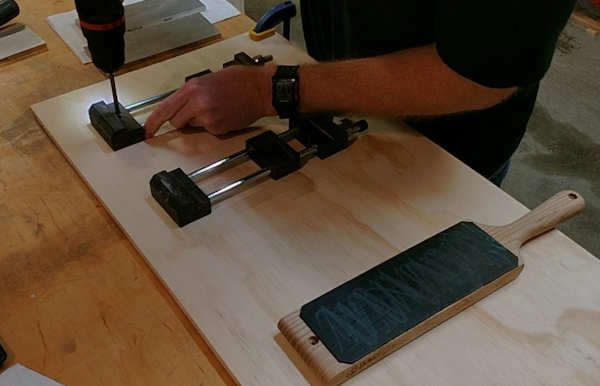
As you can see, it’s pretty simple to set this up, and clamp the plywood to your work bench.
Then attach your stone-holders and the stropping board to the plywood with 1″ drywall screws.
Step 1 – Flatten The Back
The main part to worry about here is along the edge. The entire back does not have to be exactly flat, so don’t wear yourself out chasing perfection here.
Here’s what I’ll be sharpening, as you can see, it’s a brand new chisel. The back still has it’s factory-finish.
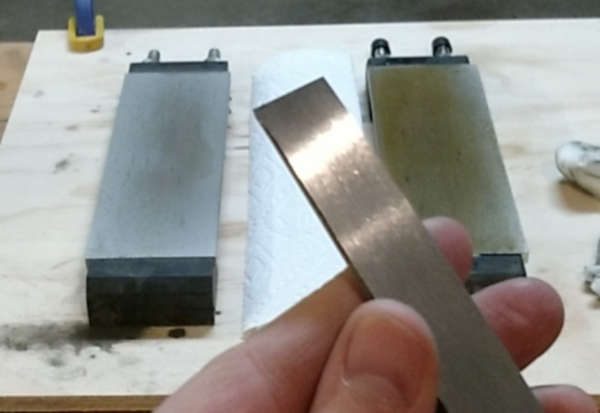
Holding your blade down flat on the diamond plates, using water as a lubricant, run the blade back and forth.
Put firm, even pressure on the chisel.
You’ll do this on the lowest grit until you can see a new surface along the entire width of the blade at the sharp edge.
If it’s a new chisel, or the back has never been flattened, the longest part of the process will be initially flattening with the course grit stone.
Here you can see, I’ve got a new surface on the back which extends all the way to the edge.
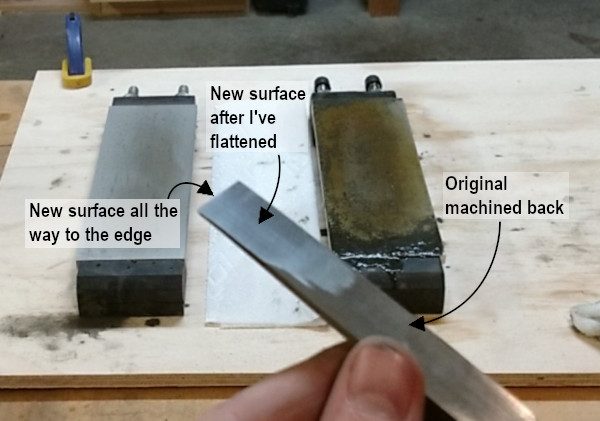
Once it’s flat, moving through the other stones will go quickly.
Likewise, next time you do a full shapening and touch up the back, it will go very quickly.
But once the back is flat, move through the other grits until it comes to a nearly-reflective finish.
A Few Notes
For a plane blade, I find that using a cheap blade guide works fine. But for a chisel, it’s easy enough to just guide it with your hand.
You can use the blade guide if you want, but the idea here is to keep it simple, and save time.
My focus is making this a simple and quick process. The easier and quicker it is to sharpen a blade, the more often I’ll do it (a good thing).
And just so you know, something that happens when you don’t use a guide, is you get a rounded surface.
The blades edge is still razer sharp, but the surface leading to the edge is slightly bowed, which is fine.
Sharpen With Your Diamond Plates
So lubricate your diamond plate with water, position your chisel so the factory edge is flat on the stone, and run your blade back and forth, holding this angle as steady as you possibly can.
Do this until you can see the entire beveled area has a new surface, and you’ll also want to feel for an even burr along the back of the edge.
Now move through the finer diamond plates, each step should remove the scratches left by the previous plate.
Also your burr should continue to feel even across the entire width of the blade’s edge (on the back).
See the process here:
Water Stone Users – Keep It Flat!
I store my water stone in a container of water. These stones should be completely saturated and filled with water before using.
When using the stone, your blade will wear away material from the stone, creating a slurry.
This makes for a very quick sharpening tool, but it does not stay flat very long.
So before each use, you’ll want to flatten it with a flattening stone or a diamond plate.
Just rub it with the diamond plate until you can see the entire surface is nice and flat. Looking at it in low light is usually enough to tell when it’s ready.
Sharpen With Your Water Stone
Just like above, you’ll flatten the back first by applying good pressure and running it back and forth until the back is flat all the way to the cutting edge.
Next, flip it over and hold your chisel so the factory bevel is flat on the stone. Then run it back and forth until the entire bevel is a new surface (just like with the diamond plate process above).
If this surface takes any more than say 30 strokes or so, then stop and flatten the stone again.
If you just go and go and go until it’s sharp, you’ll probably find that the edge is rounded, and will gouge the wood.
This is because the water stone develops a cove (it ‘wallers out’ for all you midwesterners out there).
So flattening the water stone repeatedly is very important.
Once the surface is good, you can flip the stone over and repeat the process on the ‘honing’ side.
This should bring it to a near-mirror finish, ready for stropping.
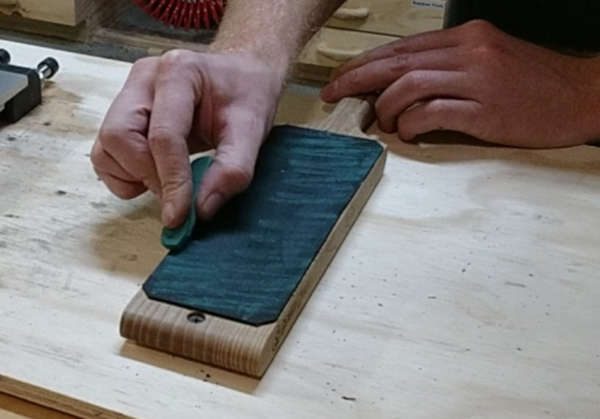
Stropping to Finish Up
Now to make it a truly razer sharp and mirrors-edge finish, you’ll want to strop the blade.
I use a double sided strop, one side I apply compound, the other side I do not.
So coat the leather in compound and pull the blade 30 times or so across the leather.
Flip the blade over and pull it, applying good pressure, across the leather 30 times at the most.
Now clean the compound from the blade, and turn the strop over. Use the dry leather and repeat that process without any compound.
This should leave a buffed finish in which you can see your smiling face!
Test Your Finish
Give it a test run on some scrap wood and you should have zero tear out. It should leave a glass-smooth finish.
Let me know how this works for you!
Be sure to sign up below to get email updates on more posts like this one, plus I’ll send you some cool woodworking tips and projects.