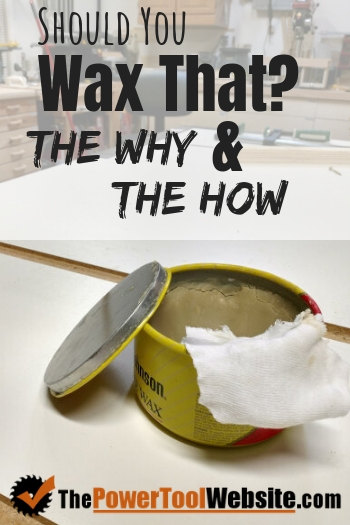

So you’ve completed a project, you’ve already looked into durable top-coat finishes, and you’ve come across the idea of waxing.
From what you’ve seen, this looks like an incredibly easy, and mess-free finish.
It’s cheap, it’s easy to apply, it doesn’t stink up your shop…
What’s not to love?
Well… I hate to crap on your cupcake, but unfortunately I must.
A wax finish is absolutely one of (if the THE) least protective coats you can apply as a finish.
I’m sorry. That’s just life.
Other finishes, which I cover in Wood Finishes 101, are made for protection.
Wax on the other hand. Well..
I don’t really know why it even falls in the same category.
I mean, if you finish a coffee table with wax, it will end up with marks and scratches everywhere a little toy car was drug across the surface.
It will have horrible coffee mug rings, since wax has practically zero heat protection.
And it will probably be non-existant as soon as you wipe down the table with a cleaner.
So how does it compare to the other, actual-protective finishes?
It doesn’t. Not even a little bit. Plain and simple.
But that’s not to say wax doesn’t belong in a wood shop.
Oh contraire.
There is definitely a time and a place for a wax finish, which I’ll explain below.
But first…
What kind of wax should you get?
When you head to Lowes to pick up some wax, you’ll probably notice a few different kinds.
They probably have paste wax, beeswax, antique furniture wax, creme wax, wax rings for toilets, all kinds of wax…
But what we’re interested in, is paste wax.
This is a very well-rounded, easy to apply, almost-somewhat durable wax finish for wood. And metal. And vinyl, plastic. And leather.
It’s handy for any wood shop, and it’s cheap.
But what about for protection?
Well, like most waxes, paste wax is not a great protectant.
It may offer some resistance to water, but little else.
When to use it.
So when is using paste wax actually a good idea?
Let’s say you’re building a new table saw sled, and you got the runners mostly smooth, but not smooth enough.
Apply some paste wax to your runners and they’ll be sliding through your miter slots like a hot knife through butter.
Or what about making hardwood drawer slides?
I make these for some of my shop projects.
I learned that if you want these drawers to slide open and close really well, you gotta use paste wax on them slides.
And boy does it make a huge difference.
Or how about keeping your table saw surfaces slick, and rust free…
Yes, paste wax can help with that too.
And in addition to using it around the shop, it does do a good job on antique furniture restoration.
I would argue this is because of its simple application and nice-looking sheen, no doubt.
When to use wax on projects.
There are times I would suggest using paste wax on your wood projects.
Here’s what you do:
Use something else for a final protective top-coat.
(Don’t worry, that’s not the end of this tip)
I personally use polyurethane on most of what I build. Sometimes wipe on, other times brush on.
But apply the other finish, all the coats, and let it cure.
Then take a good close look at the project, in angled light.
If you can see that there are lines, scratches, or voids in the finish, this is when you want to add your wax finish.
At this point, waxing actually makes good sense.
The wax is easy and quick to apply, and will fill these tiny lines and scratches.
This leaves a smoother, cleaner looking sheen, a better ‘luster’ as they say.
Much better than it would have been left with the scratches and voids.
Ok, so how is it applied?
Please continue on…
How to apply a wax finish.
This is a very simple process, applying the wax.
If you’re like me, you probably get a little bit stressed when applying other finishes, like poly or lacquer.
They have to be done a certain way. And if you screw up, you could potentially ruin part of your project.
But not with wax. No sir.
At this stage in the game, you can rest easy.
I honestly don’t think you could mess this up, even if you wanted to.
Here’s what you do.
Get 2 clean lint-free shop rags.
Ball the first one up and use it to apply the wax.
Get some paste wax on the rag and rub it in making small circles, over the entire surface.
It changes the color of the wood well enough you’ll easily be able to see what’s been covered as you go.
Let it set for a few minutes, I usually go about 5 minutes.
If you’re a stickler for folllowing rules, feel free to read the directions on the wax you’re using.
I don’t know what it says, because I don’t think I ever read mine.
After it’s hardened, you’ll see how it has become kind of opaque.
Take the other rag and now wipe the wax back off.
This part takes a little more work.
But the more and harder you wipe, the better the finish will look.
For this I suggest wiping with the grain.
Technically you can add more coats immediately, but I’ve read that some wood finishers get better results waiting 24 hours before the next coat.
And like that, you’ve now got a waxed finish!
And that’s it guys. That’s my wood waxing 101 course I guess.
Subscribe below and I’ll email you blog post updates, and other woodworking stuff.