You can make any piece of furniture look professionally built by adding some simple trim molding, like crown, or furniture base molding.
I’m going to show you my exact process of adding some base molding to the office desk I’m building for my wife.
I’ve already shown you exactly how I build the drawers and install full extension drawer slides.
Next on my list is the base molding, so what I’ll do is outline the project here first:
- Rip and Crosscut the hardwood boards
- Miter cut the corners
- Put chamfer along top edge with the router table
- Cut out clearance area with the scroll saw
- Attach to desk base
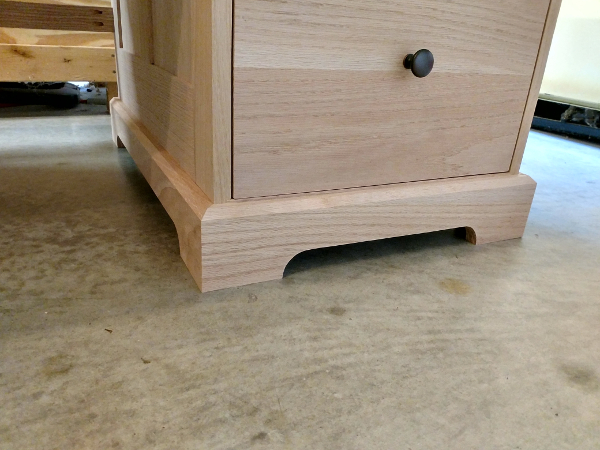
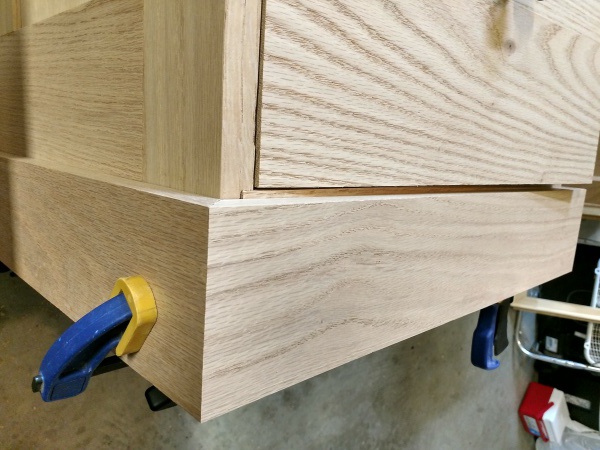
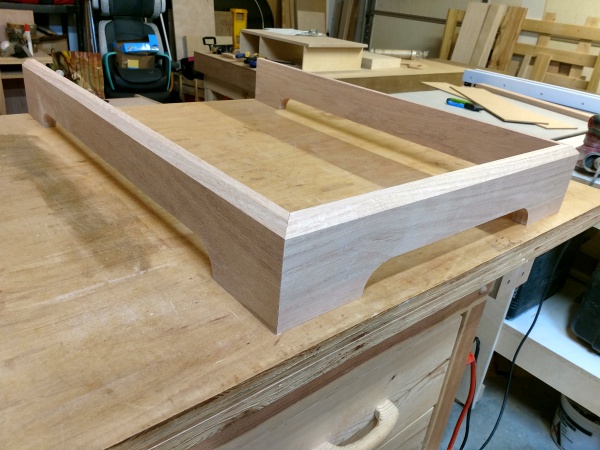
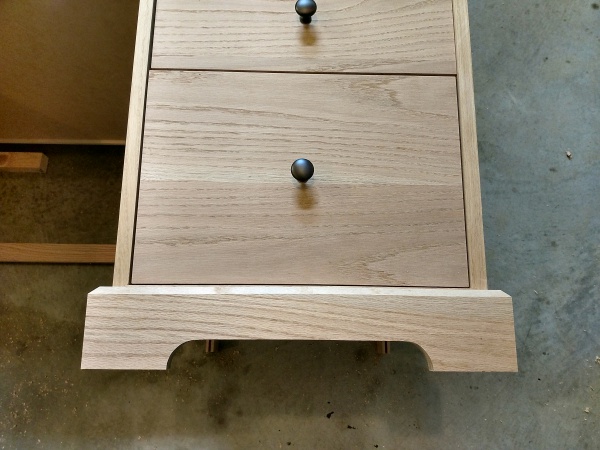
And here’s the finished product after the base has been attached.
This is the first time I’ve done this, and really the process is simple, but it’s also easy to mess up. I’ll show you some tricks I figured out to reduce the chance of messing up your cuts.
Tools And Materials Needed For Furniture Base Molding
Some people won’t use the same tools I use, because not everyone has the same tools. Also, you don’t necessarily have to cut the clearance area. I prefer that look, as it appears the desk has large, beefy feet. But having a straight edge bottom is ok too.
But here’s the equipment and material I used for this project:
- Grizzly cabinet 3hp table saw
- Craftsman 10″ sliding miter saw
- Craftsman router and router table
- Dewalt scroll saw
- Kreg pocket joinery system
- Drills
- Screws
- Red oak for the base material
If you have a band saw, that works really well in place of the scroll saw.
The Build Process
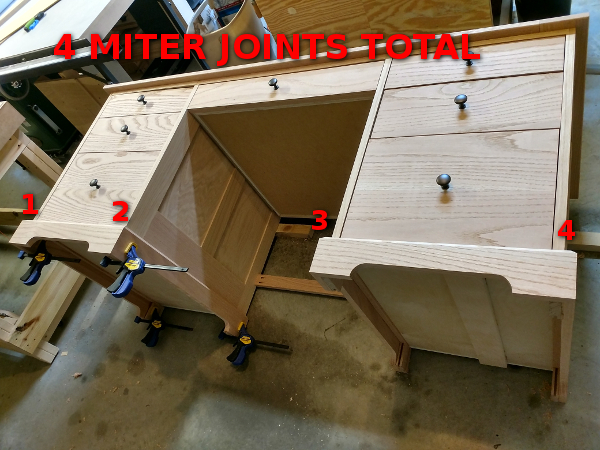
I’ll be building my furniture base molding for my desk from solid 3/4″ thick red oak, the same material the desk is made of. This desk is designed to be pushed against the wall, so my furniture base molding will not wrap around the back. So I only need 3 pieces for each side, using 4 miter joints total.
Rough Cuts
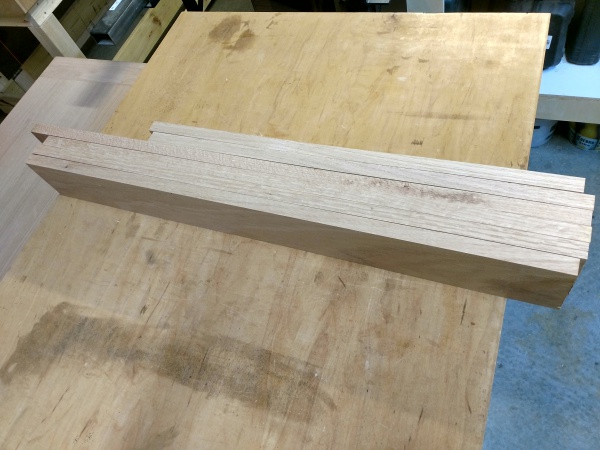
First I figure up the height I need for the base, then I rip and crosscut down to size. For this I use my Grizzly table saw and my Craftsman sliding miter saw, I reviewed here.
I always make these initial cuts at least 4″ longer than I need. This is so I can run them through the thickness planer to make each board perfect. The planer leaves snipe at 2″ from each end, so I’ll cut off at least 2″ from each side when I make the 45-degree cuts.
Miter Cuts
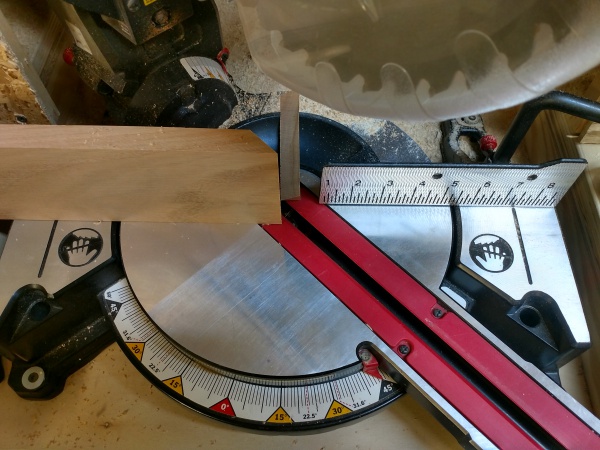
Now you may consider this a bevel cut because of how it’s oriented on the wood. But I hold the wood vertically against the fence on the miter saw and use the miter adjustment to make the cut.
So first I’ll layout the boards how I want them to end up based on wood grain and any bow that they may have. Then I’ll make little marks to indicate what portion gets removed in the miter cut. This is just a technique I use to reduce the chance I get confused and cut the wrong angle.
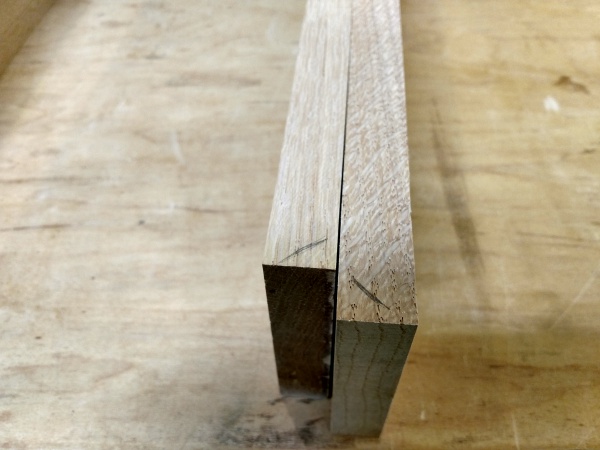
Then at the miter saw I remove 2 inches from the end of the board, at 45 degrees. This picture is actually the second cut I made after the initial 2″ cut. I measured the 45-degree angle of the first cut (with my combination square) and it was off just a bit. So I fine-tuned my 45-degree miter adjustment on the saw, and made this cut.
I also made the miter cuts on the 2 long pieces, then I measure the remainder and crosscut the other end of each (remember, they still have 2″ or more that must be removed). Then I clamp them to the base, and now I can mark and cut the other miter on the short piece.
Once the short piece is marked, I’ll make the final miter cut. Now I can set it in place and check that the miters all line up just right.
Shape The Pieces
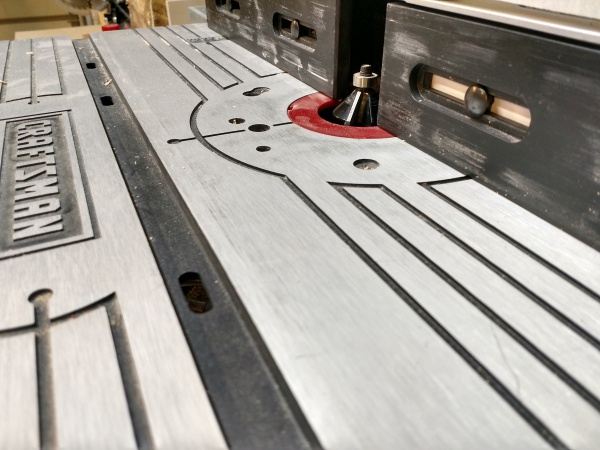
I want my finished molding to have a simple chamfered edge on the top. I’ll use the router table for this. So I’ve installed my chamfer bit in the router and set the bit-elevation and fence up so the chamfer goes about halfway through the thickness of the wood.
For a good read on routing nice profile edges, go here.
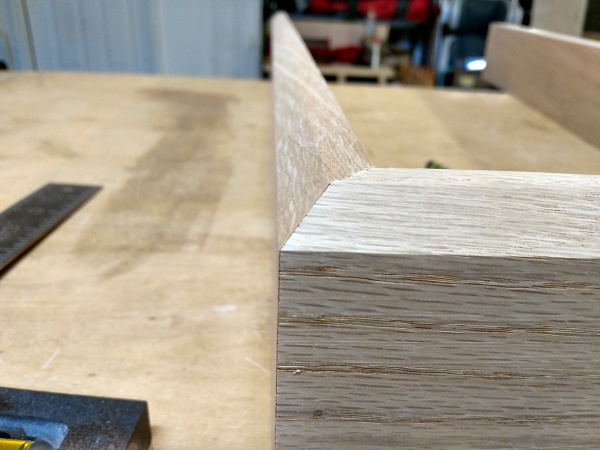
After I’ve run the wood through the router table, here’s how they’ll look at the miters.
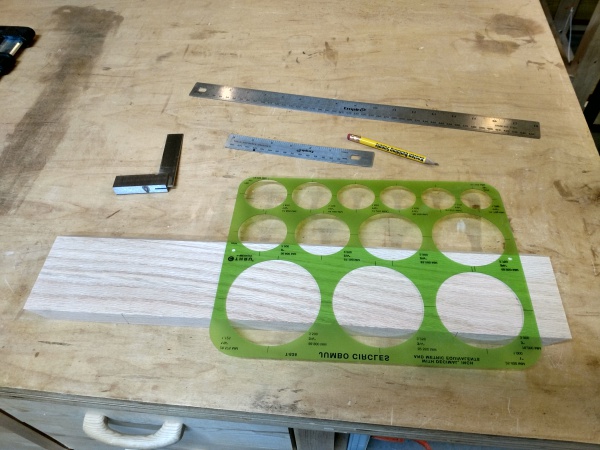
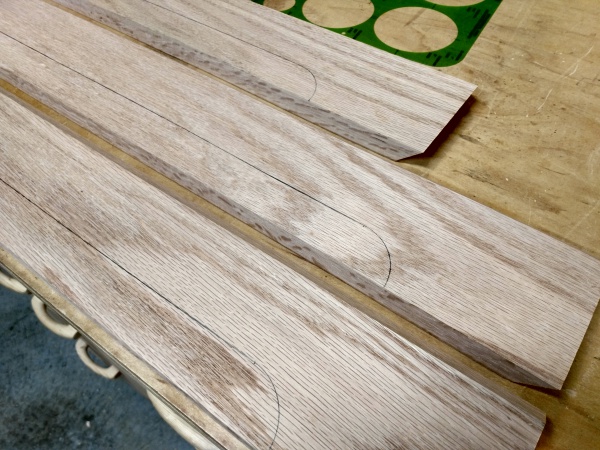
I’ll also be creating a clearance area for each piece. First I take my circle stencil and ruler and draw out the shape right on the wood with a pencil.
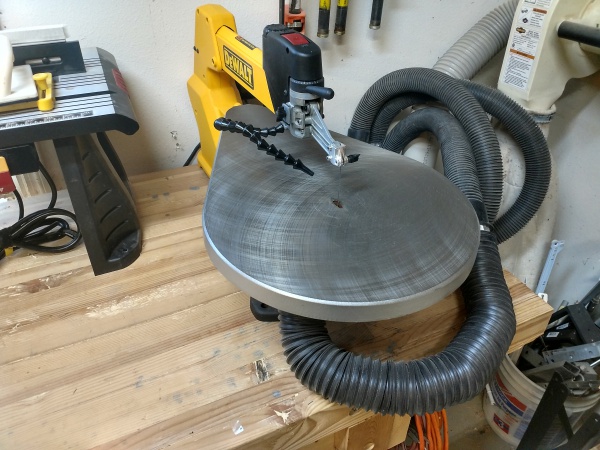
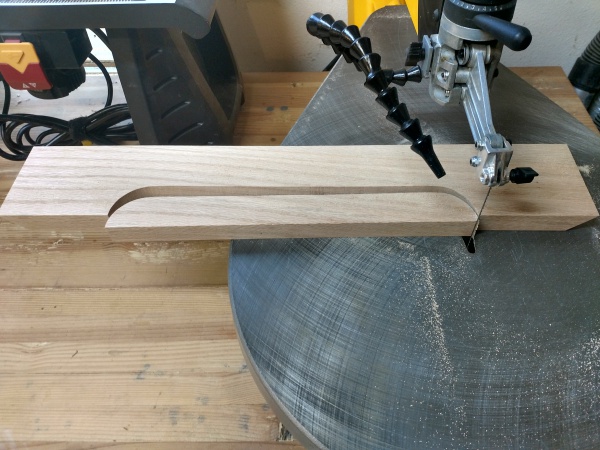
Now I’ll take the pieces over to my Dewalt scroll saw. This is a slower, but more accurate custom-line cut, compared to the band saw. I use “Thick Wood” blades for cutting 3/4″ hardwood. It cuts very easily and still leaves a nice edge. (You don’t want any rough edges on your furniture base molding, because many times this is where the piece is picked up from when being moved.)
When cutting on the scroll saw, you don’t want to force the wood. You put pressure to hold the board down flat on the table. Then slowly feed it into the blade. Release pressure from the board to make sure you’re not forcing it. If you force it, you will likely bow the blade left or right without realizing it. This makes your cut veer slowly left or right. If you try to compensate this veer by turning the wood, the cut gets real sloppy. So keep it slow and steady, without forcing it.
Now I just repeat that step on the other pieces and I’m ready to install them on the pedestals.
The Install Process
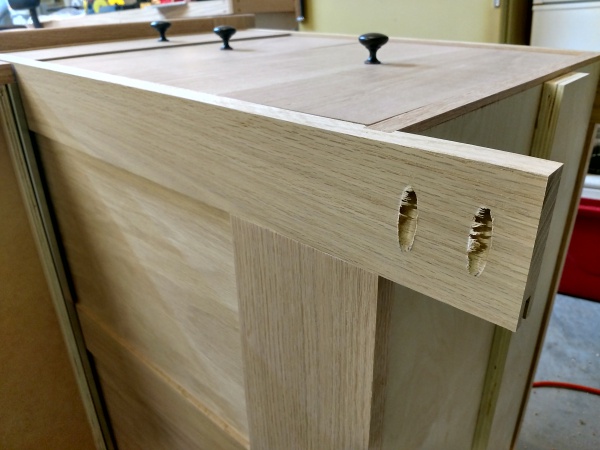
With the desk laid down on it’s back, I can easily work on lining up the miter joints while installing. I also have limited surface area to glue the front pieces, so I drill some pocket holes with my Kreg jig on the pedestal feet. This will allow me to sink some pocket screws into the front baseboard, in addition to the glue I’ll apply.
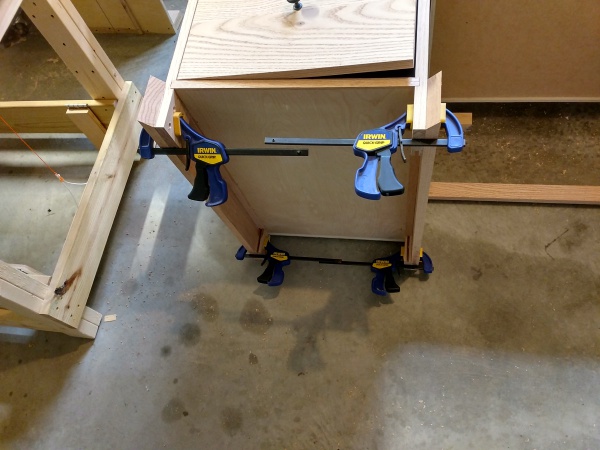
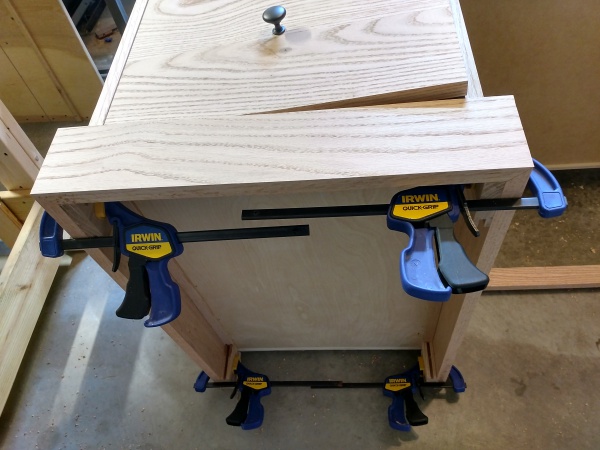
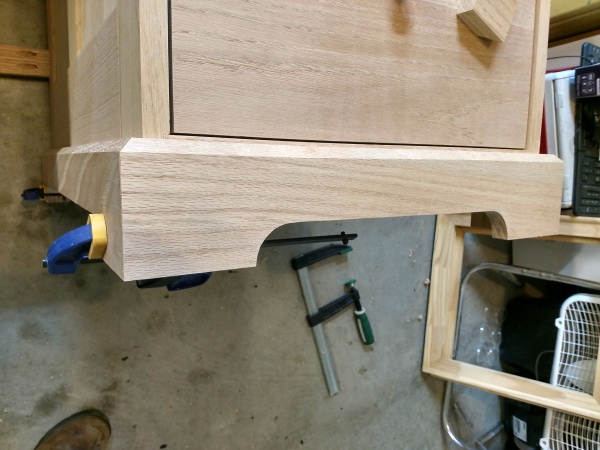
Now I’ll set the front piece on, and then I’ll clamp one side piece on once I’ve got it positioned just right so the miter joint is perfect.
With this corner lined up just right, I can now make the other side just right. This required a couple extra fine-tuning cuts with the miter saw.
Also, I cut the miter on the right side piece just a hair over 45 degrees, and this pushed the corner of the miter right into the corner of the front piece miter, closing the small gap it had.
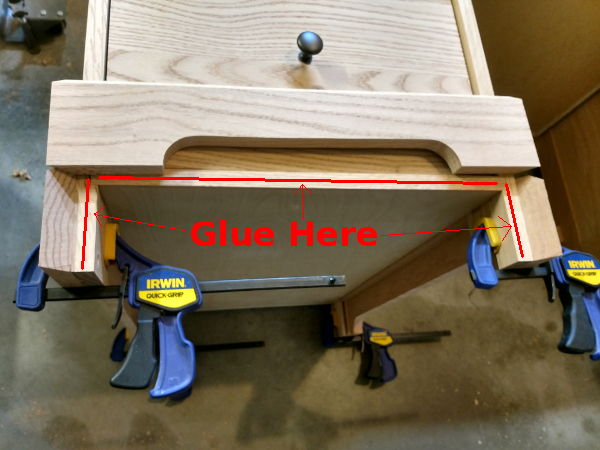
Now with the sides in place, they’ll help you line up the front piece for the glue-up. Now you can apply the glue to just the front piece and clamp it in place. Then remove the side pieces and pocket screw the front baseboard on.
The pocket screws will now hold the piece in place while the glue dries, so the clamps can be removed.

The side baseboards have a lot more surface area to glue, so there will be no screws here. I just apply the glue and clamp the pieces in place and let them set up overnight.

Final Notes On Furniture Base Molding

Obviously, your project will be different than mine. But I hope that by walking you thru my process, with the tools I have, and the furniture I’m building, I’ve been able to help you get an idea how you can do your own furniture base molding.
Just remember that sometimes the miter joints won’t all come out perfect just because you’ve tried to build a nice square base. If you make each miter 45 degrees, you may still find that a slight imperfection somewhere else in the furniture can cause a gap in the joint.
So plan on using some extra scrap material and creating extra miter cuts to figure these joints out. It’s worth it, in the beginning, to waste a few pieces in order to get the final miter joint perfect.
Like on one of my miter joints, there was a slight gap on the outside of the joint. That’s when I slightly resawed that miter angle to just a bit OVER 45-degrees, and that closed the gap.
Overall, this is something that you really should do at least once. It’s a great learning experience, and you get to make a really nice looking joint. Don’t be afraid to mess it up either, imperfections give the piece character!
Please leave a comment below and let me know what you think about my guide, or if you have any questions I’ll do my best to help out!